


Wheel arch replacement is crucial for high-performance vehicles damaged in collisions or off-road adventures. Severe damage may require complete arch replacement, involving custom fabrication or 3D printing for a perfect fit. Professional body shops offer this service to enhance durability, airflow, and wheel support, vital for racing or high-speed driving. This guide details the steps for replacing a wheel arch, from preparation to painting, ensuring both cosmetic appeal and structural integrity.
Wheel arch replacement is a critical component in high-performance vehicle repairs, addressing structural damage often caused by extreme driving conditions. Understanding the impact of wheel arch degradation and its effects on vehicle handling and safety is paramount. This article delves into the benefits of professional wheel arch replacement, providing a comprehensive step-by-step guide tailored for high-performance vehicles. By exploring these aspects, drivers can ensure optimal repair solutions for enhanced performance and safety.
- Understanding Wheel Arch Damage and Its Impact
- The Benefits of Professional Wheel Arch Replacement
- Step-by-Step Guide to High-Performance Repairs
Understanding Wheel Arch Damage and Its Impact
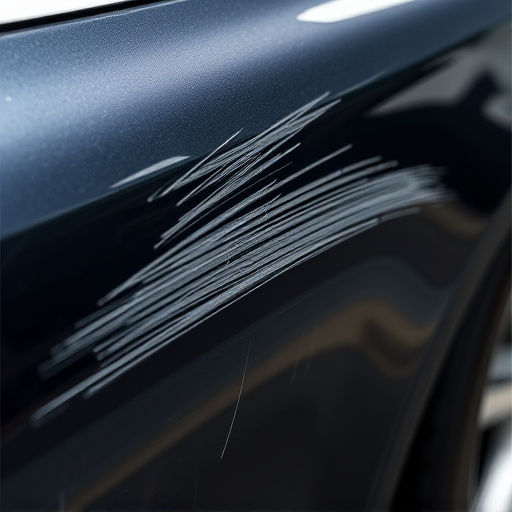
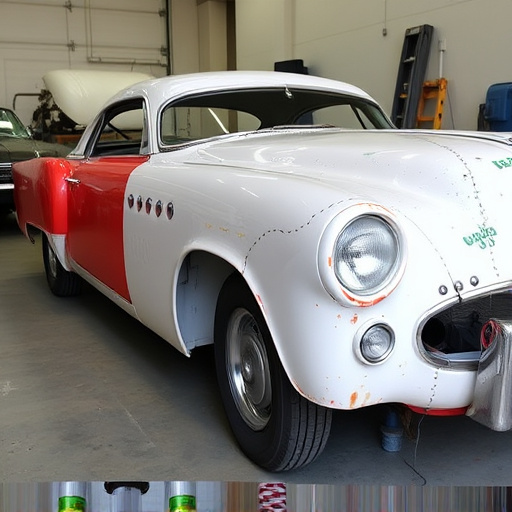
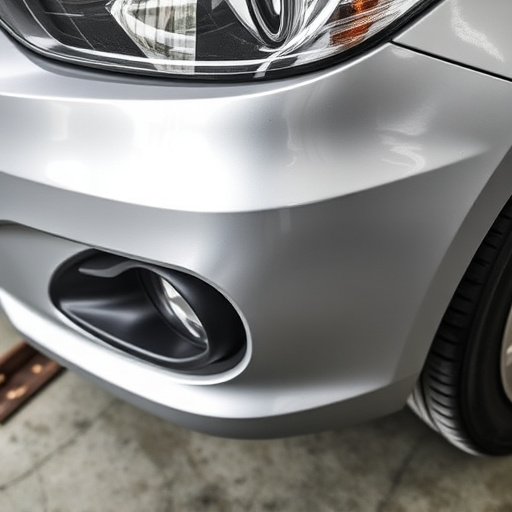
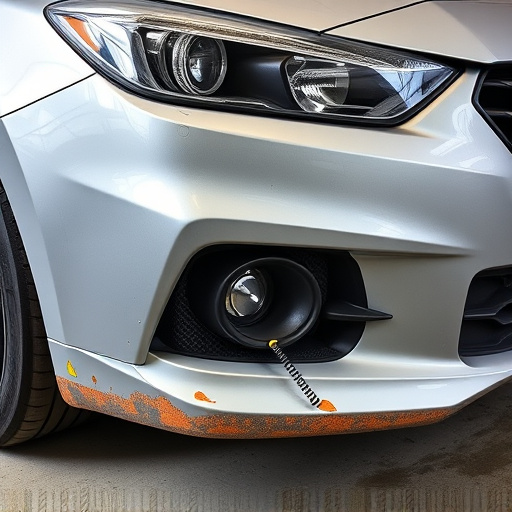
Wheel arch damage is a common issue among high-performance vehicles, often stemming from various factors such as auto collisions, curbs, or rough terrain. This structural component, which forms the wheel well area, plays a crucial role in a vehicle’s overall stability and aesthetics. When damaged, it can lead to not only visual imperfections but also compromise the integrity of the car’s underbody, affecting its handling and safety.
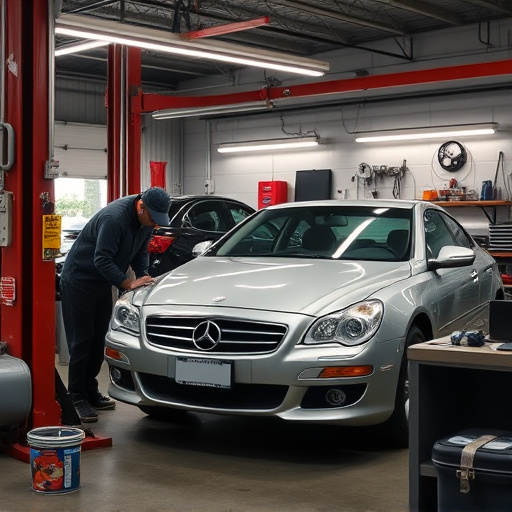
In the event of an impact or collision, the bumper repair process may not be enough to restore the wheel arch to its original condition. Auto collision centers specializing in high-performance vehicles often recommend a complete wheel arch replacement to ensure optimal performance and longevity. Unlike a simple bumper repair, replacing the wheel arch involves precise measurement, custom fabrication, or even 3D printing to match the exact specifications of the vehicle, resulting in a seamless fit that enhances both the car’s functionality and its overall aesthetic appeal at an automotive body shop.
The Benefits of Professional Wheel Arch Replacement
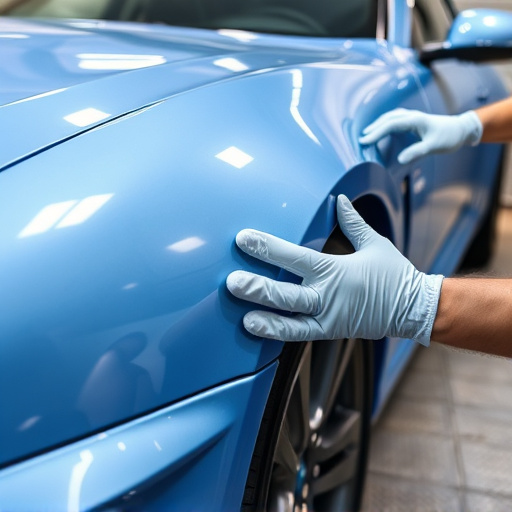
When it comes to high-performance vehicle repairs, professional wheel arch replacement offers a multitude of benefits that can significantly enhance both the aesthetics and structural integrity of your car. One of the primary advantages is improved durability. Wheel arches are highly susceptible to damage from road debris, curbs, or accidents, leading to dents, cracks, or complete replacements. A specialized body shop with experienced technicians ensures that the new wheel arch perfectly matches the original design, providing superior protection against future damage.
Moreover, professional installation can optimize airflow around the wheels, which is crucial for high-performance vehicles. Proper wheel arch replacement ensures that tires are secure and well-supported, enhancing handling and traction during racing or high-speed driving. This process also streamlines the overall autobody repairs, ensuring a seamless finish that restores your vehicle’s aesthetic appeal, making it look as good as new while also providing added peace of mind in case of future collisions at the collision center.
Step-by-Step Guide to High-Performance Repairs
Replacing a wheel arch is a crucial step in high-performance vehicle repairs, particularly for classic cars undergoing restoration or vehicles with significant cosmetic and structural damage. Here’s a straightforward guide to help you through the process:
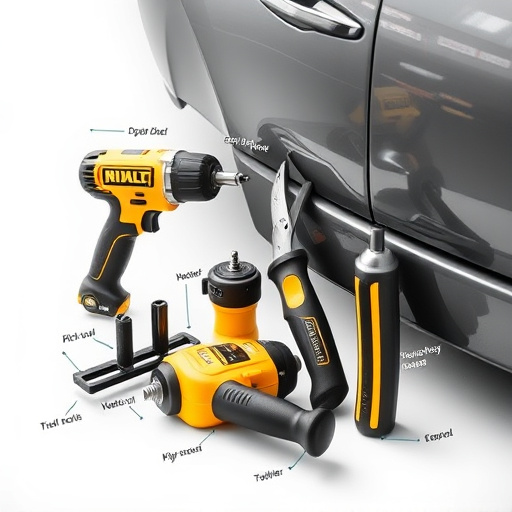
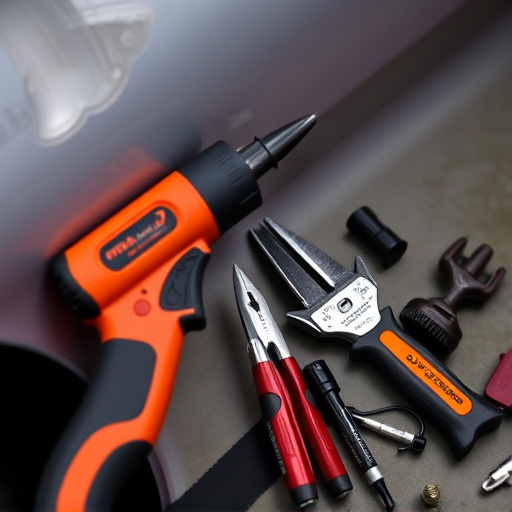
1. Preparation: Begin by ensuring your workspace is clean and well-lit. Gather all necessary tools and materials, including replacement wheel arch components, body filler, sandpaper, primer, paint, and protective gear. Disconnect any electrical components within the wheel arch to prevent accidents during work.
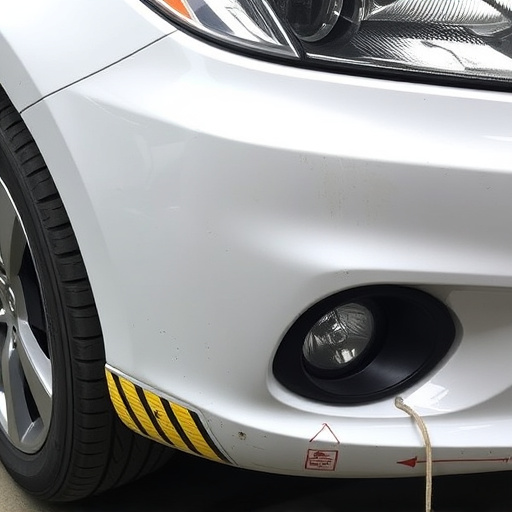
2. Removal: Carefully disassemble the damaged wheel arch, taking note of how it’s attached. This may involve removing panels, brackets, or other parts to gain access to the arch itself. Once exposed, carefully separate the old arch from the vehicle’s body, marking any mounting points for reference.
3. Inspection: Examine the frame and surrounding areas for any signs of damage or weakness. It’s crucial to identify and address any structural issues before replacing the wheel arch. Take measurements of the damaged area to ensure a perfect fit for the new component.
4. Installation: Prepare the new wheel arch by following manufacturer instructions, ensuring proper alignment with the vehicle’s structure. Secure it in place using the original mounting points or newly installed brackets, tightening hardware securely but not excessively to avoid damage.
5. Filling and Sanding: Fill any gaps between the new arch and the vehicle body using body filler, then gently sand until smooth. This step ensures a seamless blend between the replacement part and the existing body panels.
6. Painting: Apply primer to the repaired area, allowing it to dry completely. Then, use high-quality paint specifically designed for automotive applications to match the vehicle’s original color. Two or more coats are often required for a professional finish.
Wheel arch replacement is a specialized service crucial for restoring high-performance vehicles to their optimal state. By understanding the damage these components can sustain and leveraging professional repairs, car owners can enhance safety, improve aesthetics, and extend the lifespan of their vehicles. The step-by-step guide provided offers a comprehensive roadmap for effective wheel arch replacement, ensuring top-tier results in today’s demanding automotive landscape.